在 Windows 10 安裝 PostgreSQL
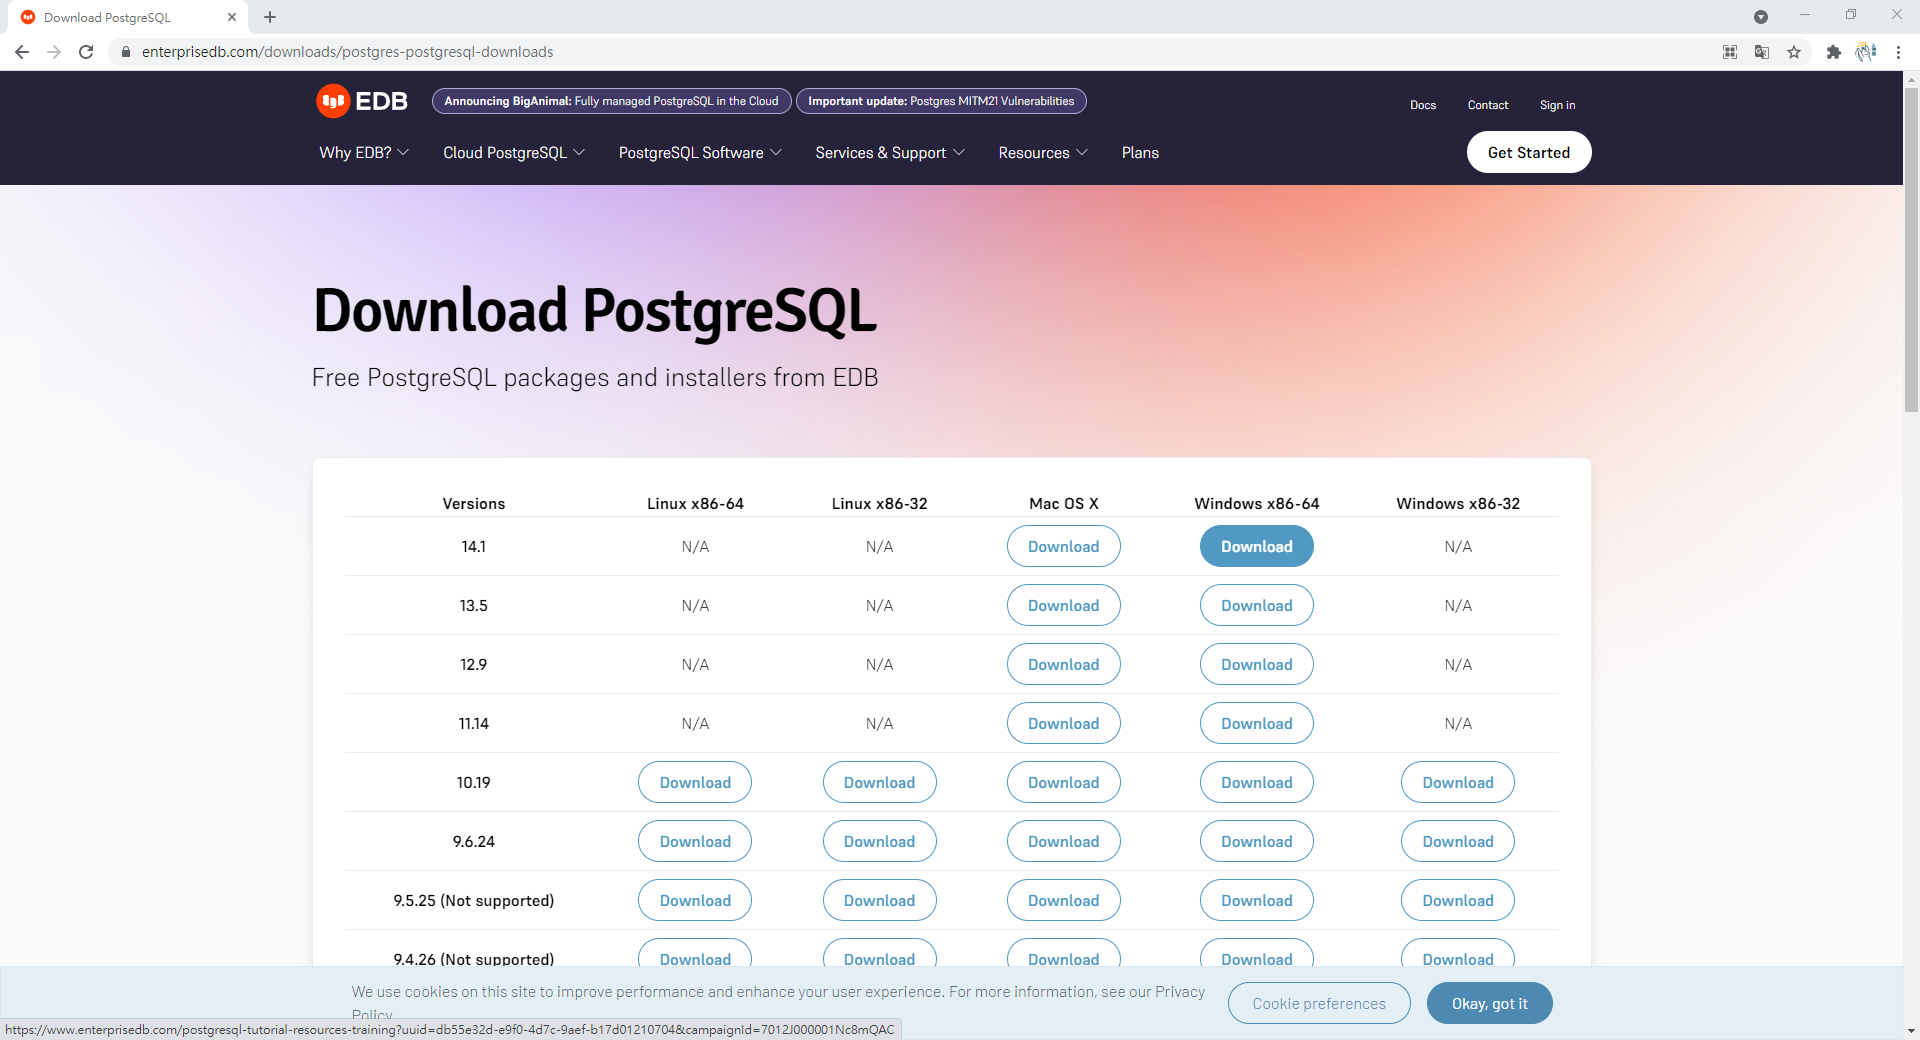
開啟網頁 https://www.enterprisedb.com/downloads/postgres-postgresql-downloads:

點擊 Windows x86-64 下的 14.1 版本,如下圖所示:
點擊後應該會看到下圖,此時已經在下載安裝檔:
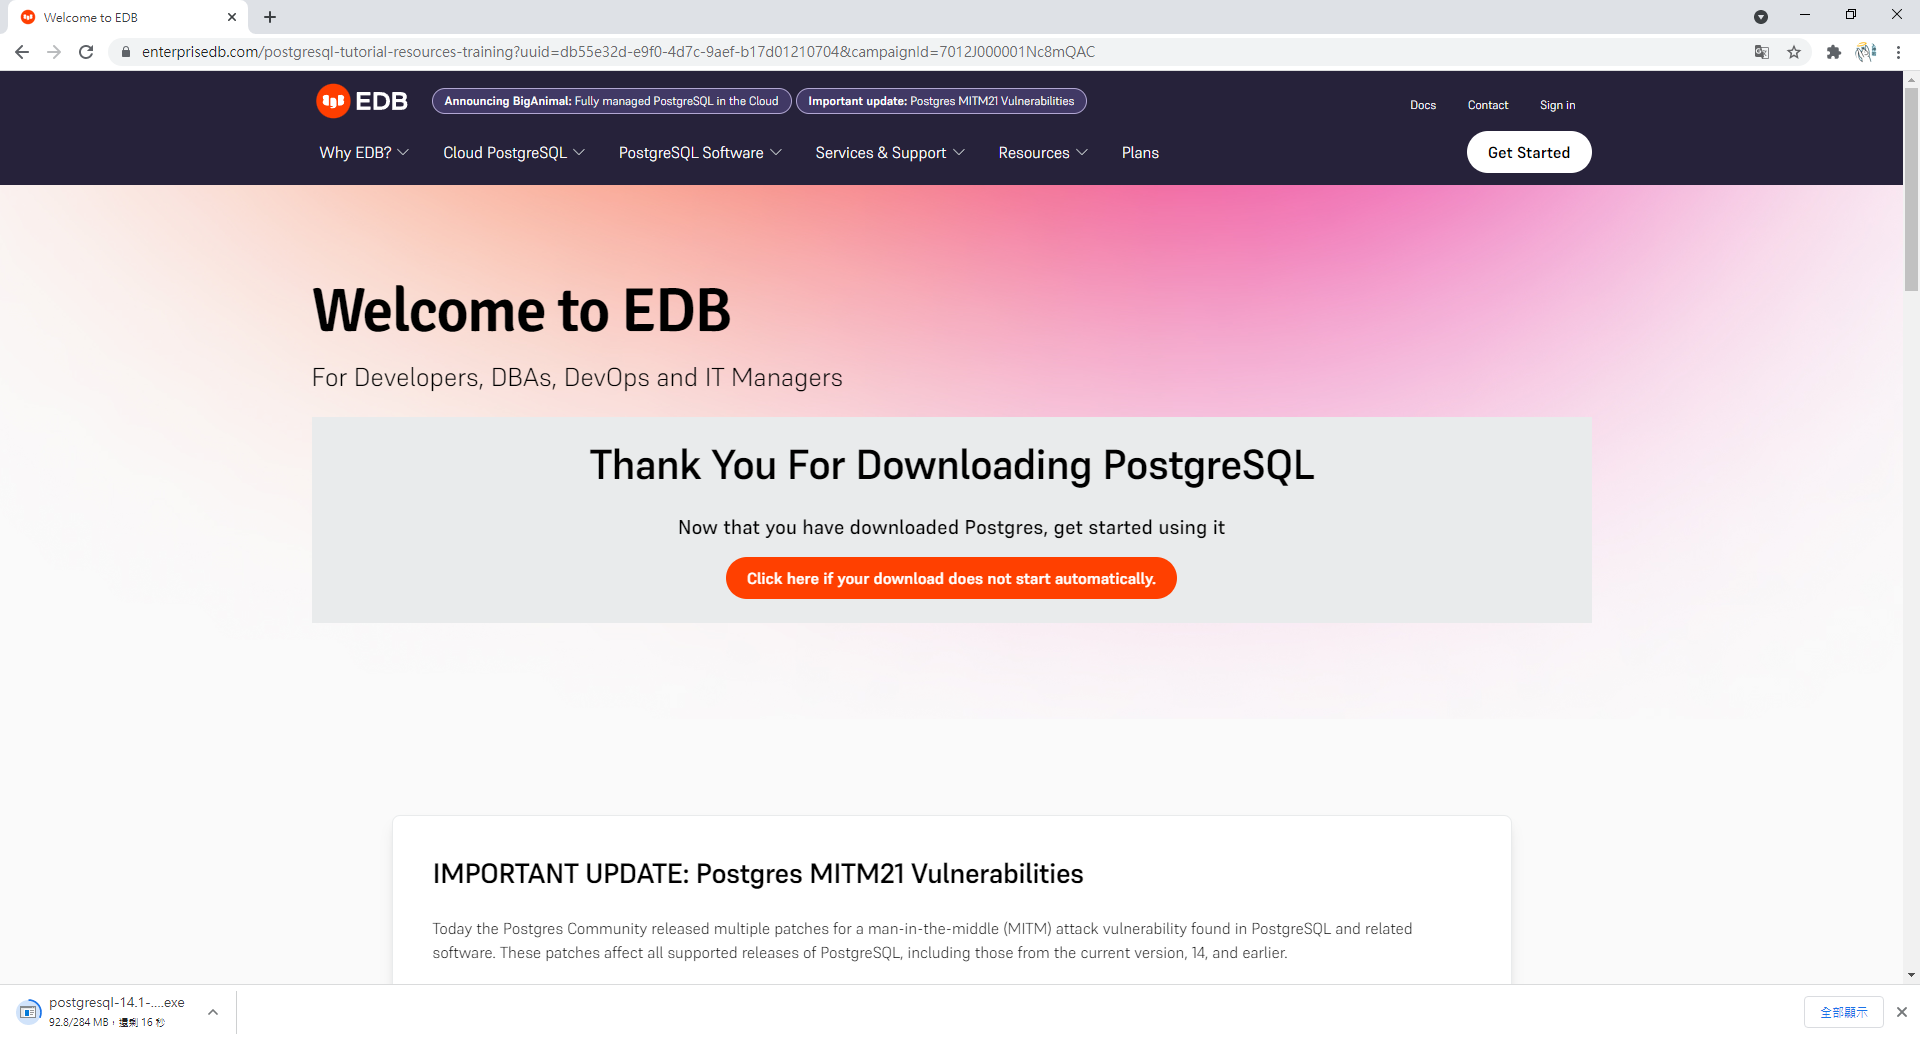
若尚未開始下載安裝檔,就點擊 Click here if your download does not start automatically. 橘色按鈕。
下載完成後打開安裝檔:
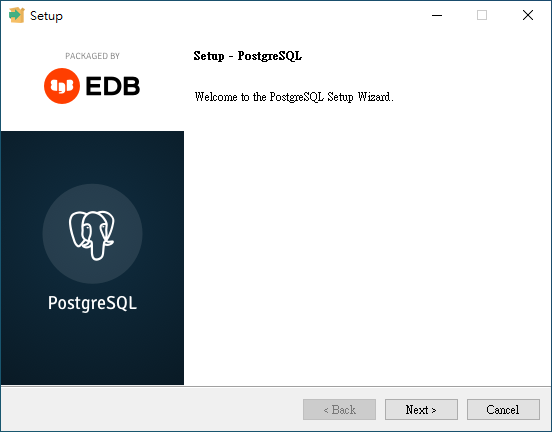
點擊 Next:
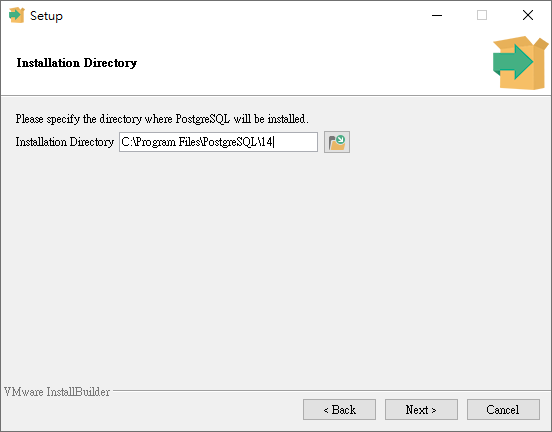
點擊 Next:
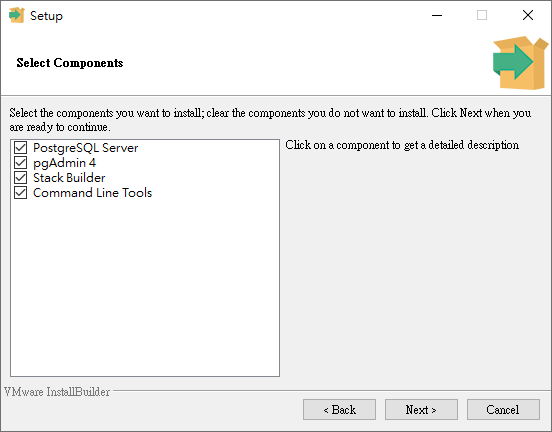
點擊 Next:
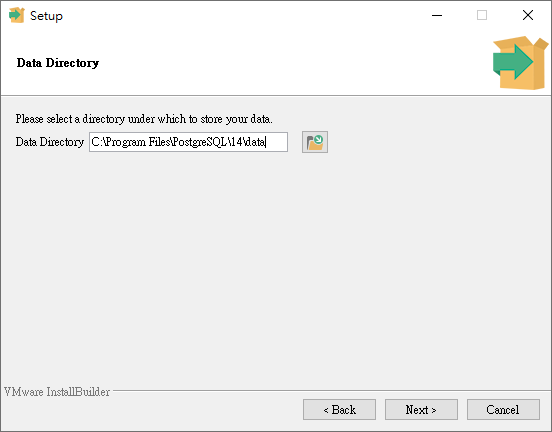
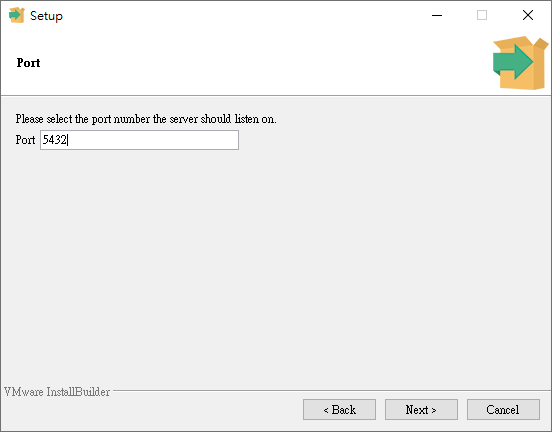
點擊 Next:
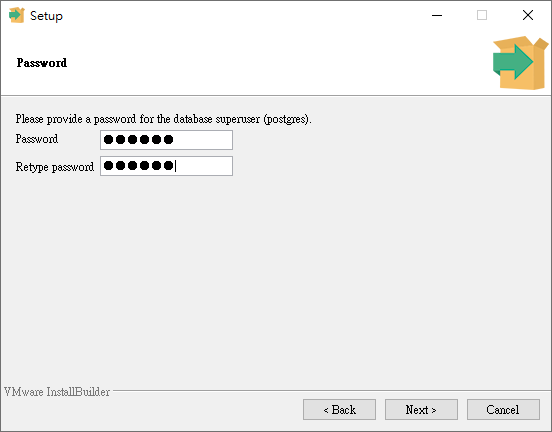
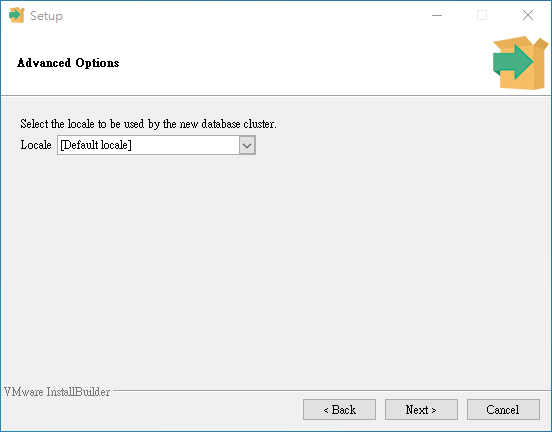
這裡要設定超級使用者 postgres 的密碼,輸入密碼後,點擊 Next:
點擊 Next:
點擊 Next:
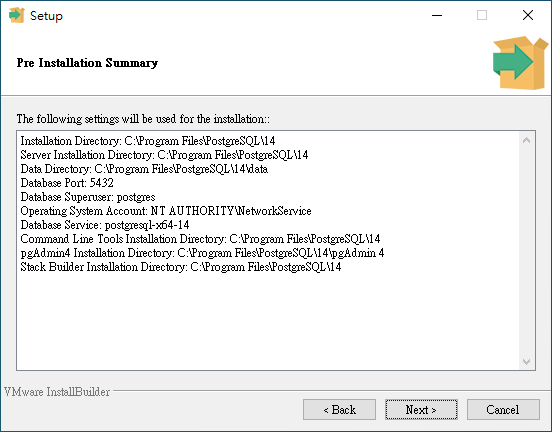
點擊 Next:
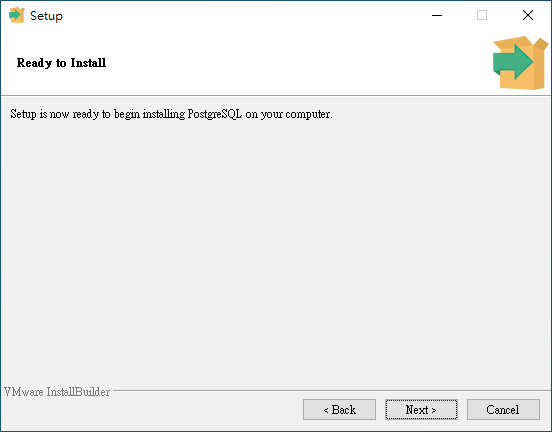
點擊 Next:
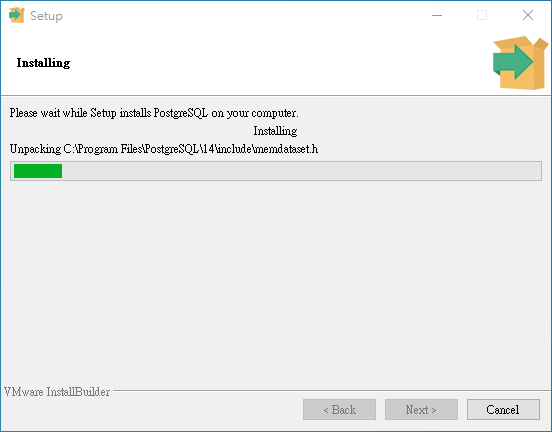
安裝中,等待安裝完成。
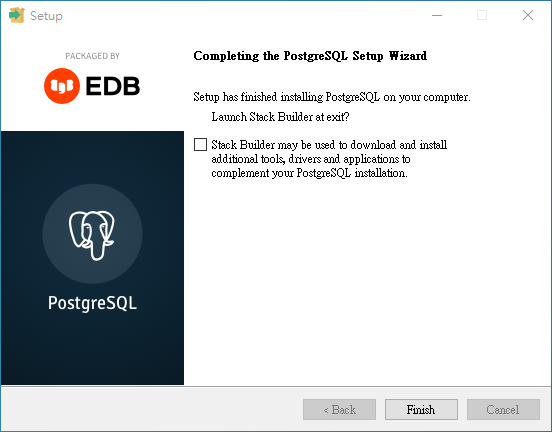
至此安裝完成,取消勾選後點擊 Finish。
確認是否安裝完成
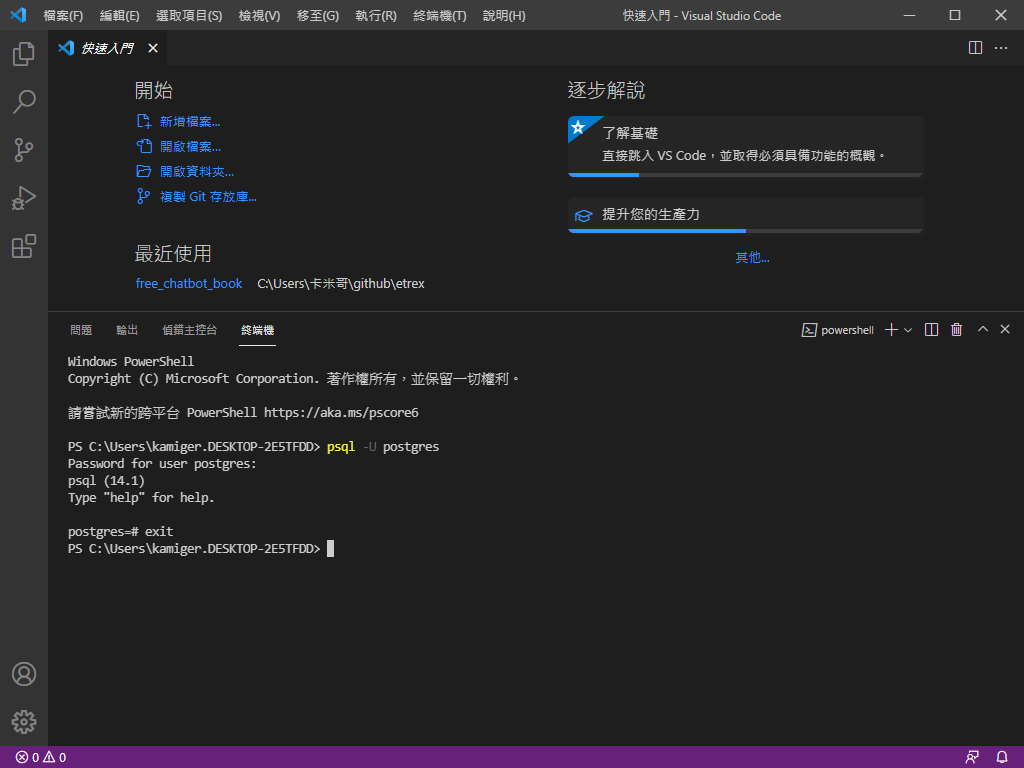
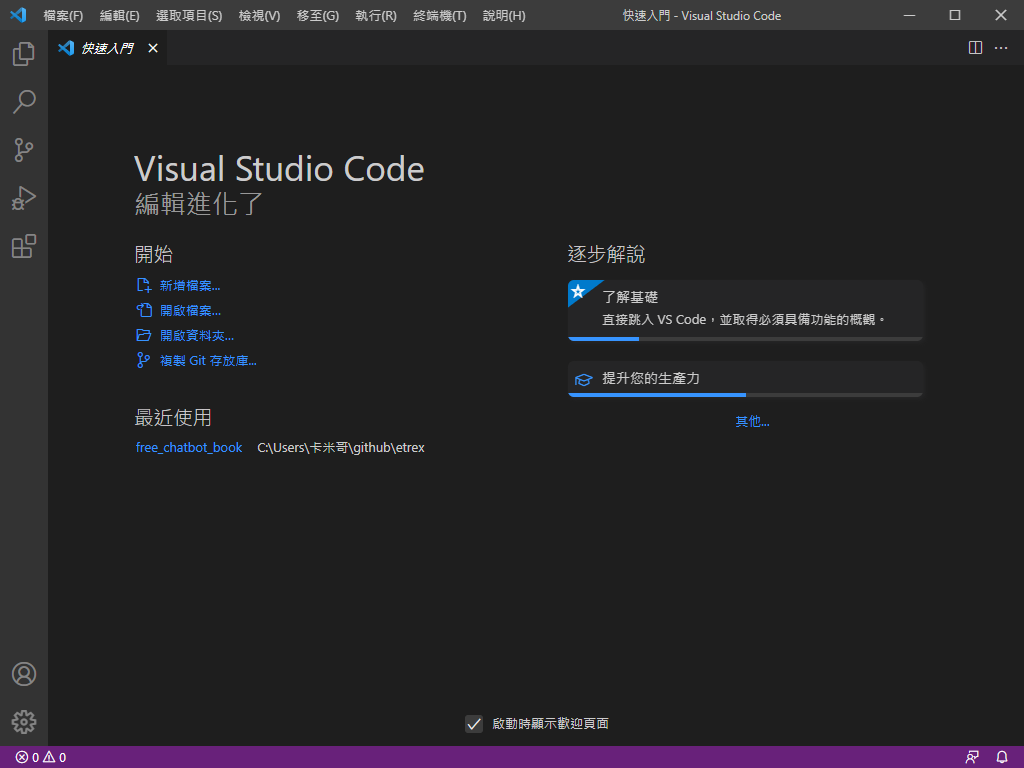
開啟 Visual Studio Code,如果原本就是開啟的狀態,請先關閉後再開啟。
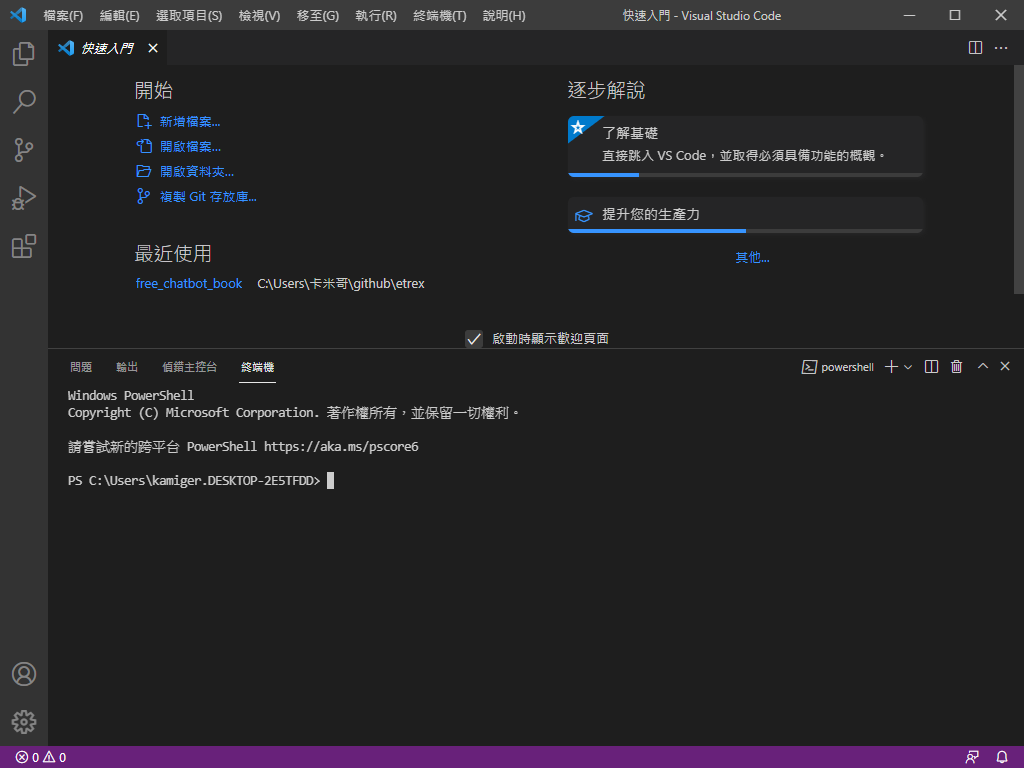
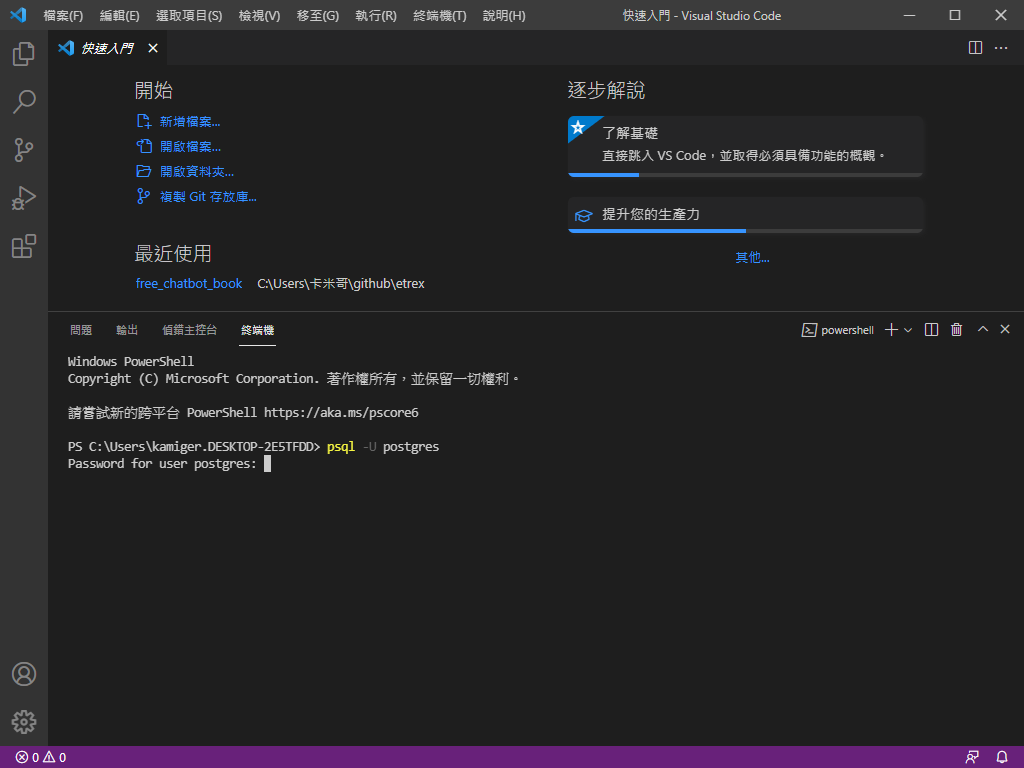
按下 Ctrl + J,開啟終端機:
輸入 psql -U postgres 嘗試連線到安裝好的資料庫伺服器:

會被要求輸入超級使用者 postgres 的密碼:
輸入好密碼後按下 Enter:
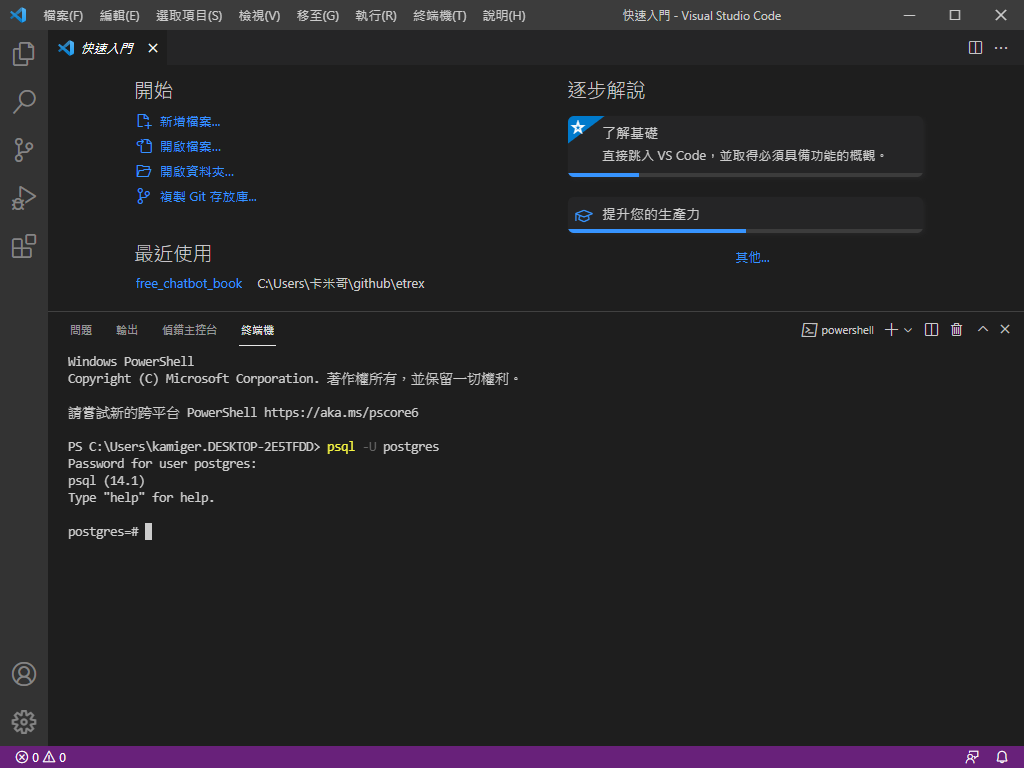
看到上述畫面就代表安裝成功,輸入 exit 離開 PostgreSQL: